Simple addition to Foldscope for reflected microscopy of opaque objects: A microchip
 Feb 02, 2015 • 5:12 AM UTC
 Unknown Location
 140x Magnification
 Plants
Manu Prakash
I am a faculty at Stanford and run the Prakash Lab at Department of Bioengineering at Stanford University. Foldscope community is at the heart of our Frugal Science movement - and I can not tell you how proud I am of this community and grassroots movement. Find our work here: http://prakashlab.stanford.edu
266posts
1192comments
42locations
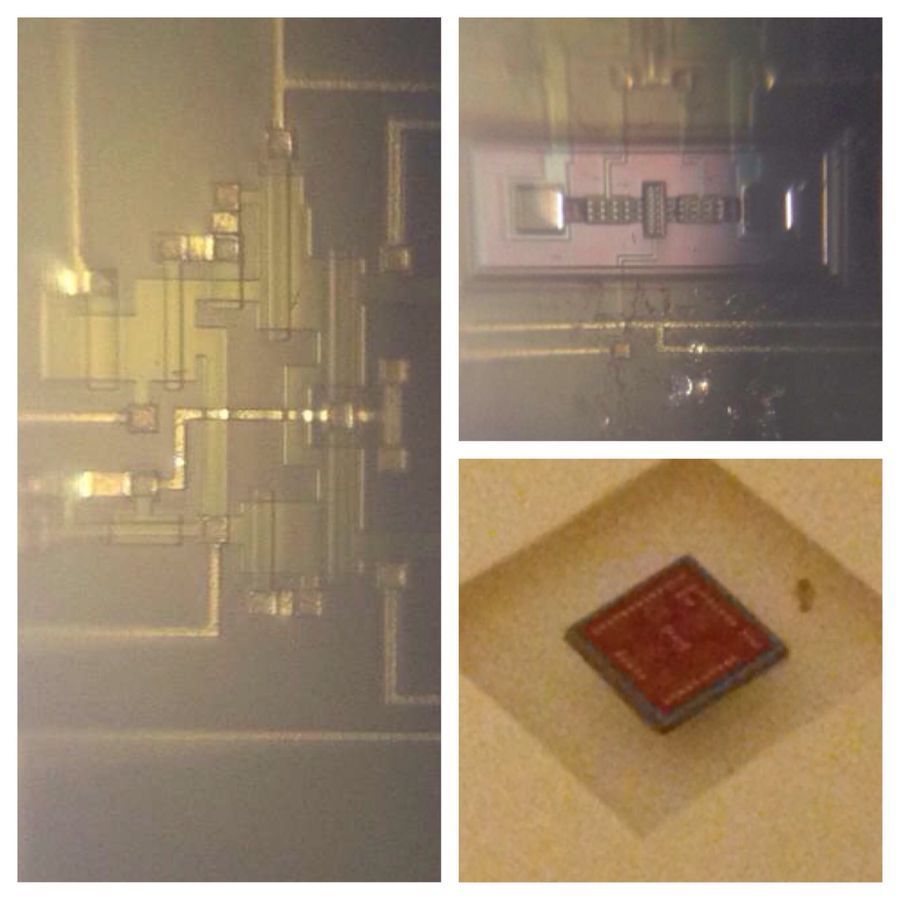
Our lives is surrounded by “microchips”. Imagine you wake up with an alarm clock, use a vibrating toothbrush to brush your teeth, turn the shower on with temperature controlled water, make coffee on a coffee machine, check your emails, grab your car automated keys and make a dash to your car to drive to work. Every one of these things is powered by one or more “microchips”.. These are the little brains that power everything in our daily lives and make life seem so smooth.
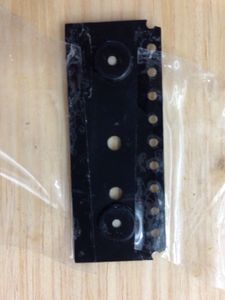
What do these microchips look like?
I will use this question to also teach you how to “modify” your foldscope slightly to actually achieve a new kind of imaging technique – called “reflected light microscopy”. As the name suggests – reflected light microscopy actually shines light on an opaque object (say a gem stone, metal film of microchip for our purpose) and thus allows us to image “opaque” objects. In contrast, until now – you have been using foldscope in “transmitted light microscopy” mode where light passes through a translucent sample to make it visible to your eye.
Methods:
1. For reflected light microscopy, you need a light source on the same side as the sensor (your cellphone camera). We will achieve this by using the flash light already embedded in your iPhone or any normal cellphone!!
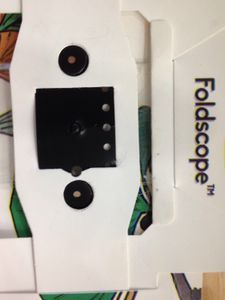
2. Simply punch a hole at an appropriate distance in “both” the magnetic couplers to align with the cellphone flash light. You can use either a simple punch for it or just a pin. Please be careful when using sharp objects so as not to hurt yourself!! Make a hole the same size as the central hole in the magnetic coupler. These holes should not change the performance of the microscope in transmitted light imaging.
3. Punch a hole in the top piece of foldscope which holds the lens such that light can actually penetrate from flashlight on the cellphone, through the first magnetic coupler, via the Optics holding paper on top surface of foldscope, and through the second magnetic coupler and onto the same below.
4. That’s it – use foldscope as usual but with back LED switched “off” and top flashlight switched “on”
5. Most android based phones allow you to keep flashlight on while imaging using the camera. Iphone 5 and lower for some reason switches off the flight light for some reason whenever you turn the camera on. I used Evernote app’s “document camera” button to circumnavigate this issue which does leave the flash light on while taking pictures.
6. This is very simple, and you should be able to put any opaque object (bigger insects, gem stones, metal, microchips etc) inside foldscope and still view them.
7. Even for our usual transparent objects, imaging in reflects light gives beautiful images with very high contrast – so this is a simple modification that you all should try.
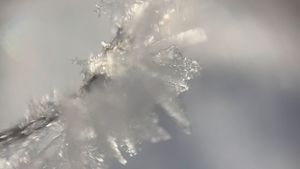
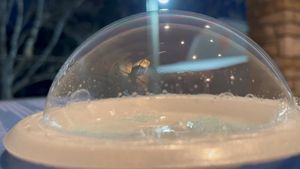
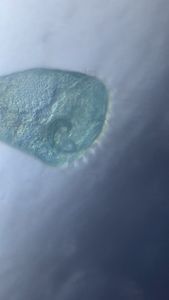
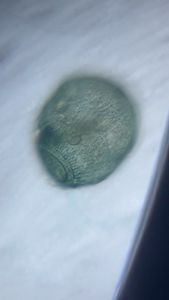
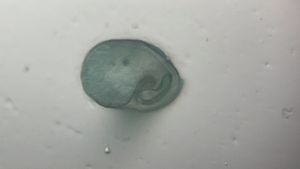
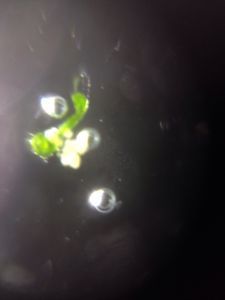
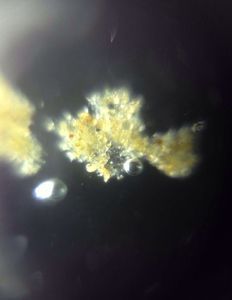
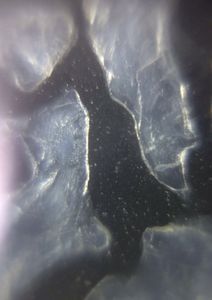
So here are some images of things I looked at through my “reflected light”
Microscopy foldscope. I am also very excited to share this with you all, because foldscope is not a fixed object. It’s what you make of it – it’s how you use it, modify it, repurpose it to fit your need. That’s where the fun is. So I hope you enjoy this “hack” – next time I will post a hack to increase the imaging resolution of your foldscope – so stay tuned.
Cheers
Manu
Sign in to commentNobody has commented yet... Share your thoughts with the author and start the discussion!

 0 Applause
 0 Comments