Creating ‘anti-squish’ slides for observing insects using Foldscope
 Feb 16, 2020 • 8:07 AM UTC
 Unknown Location
 140x Magnification
 Unknown
Ashish Patil
I am a software architect currently working on creating enterprise scale IoT application. I also love to work on python and machine learning.
12posts
3comments
1locations
View in Media Gallery
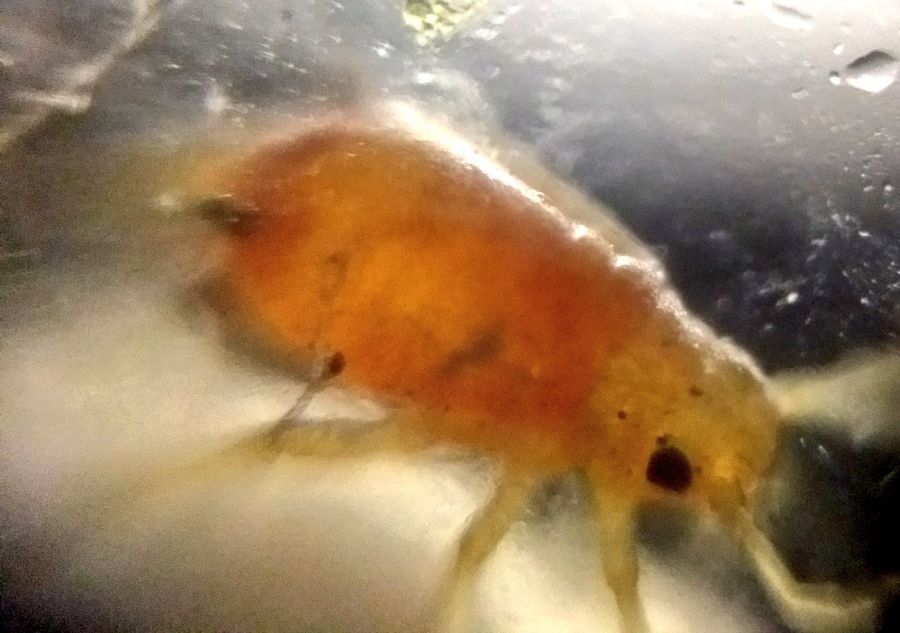
Insect imaged using the ‘anti-squish’ slide.
The slide allows insect to be observed while it is in motion !
If you see this video in 720p , you might be able to see some heartbeat like thing happening inside the belly of this insect ! Introduction Ever since I got my hands on a Foldscope , I have been pretty much obsessed with it . I have used the Foldscope to see and discover many interesting things. One fun activity, I am sure every Foldscope user must have tried, is observing insects using a Foldscope.
If you have ever tried observing insects you might have realized that, there is a tendency of insects getting ‘squished’ due the magnets and foccusing mechanism of the Foldscope. I wanted to find a way to capture live and moving insects using Foldscope. The below write-up discusses in-detail a method of creating a ‘anti-squish’ slide for foldscope and observing insects using it.
Items needed
View in Media Gallery
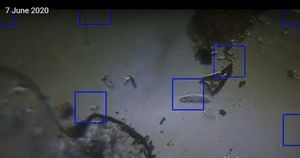
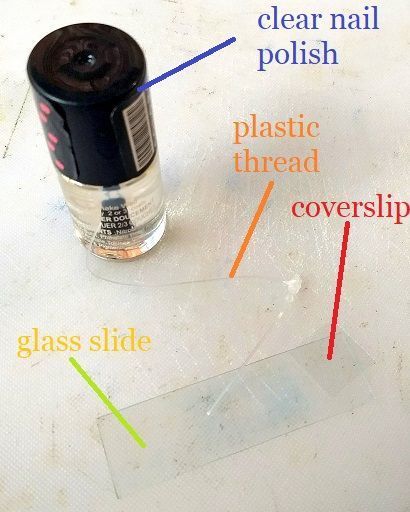
Transparent nail polish (or some sort of transparent super glue). Glass slide Coverslip Plastic thread (something similar to one used for attaching price tags to apparels in malls and super markets). Bits of white paper Some patience !! Creating the ‘anti-squish’ slide Actually the idea is very simple. We want to glue the thread between the coverslip and the slide, along the borders , such that a cavity or air-gap is created between the slide and coverslip.
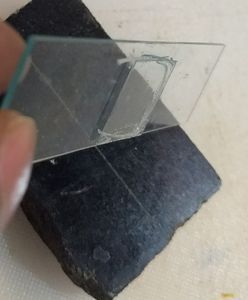
For my experiment, I used a rectangular coverslip because it is easiler to bend the thread along the edges of coverslip and gule it.
Only glue on three sides of the coverslip. We will leave one side open as that will allow us to push small insects in the ‘glass-box’ we created.
I used transparent nail-polish as a glue, but using a commercial transparent super-glue should work much better in my opinion.
It must be noted that the air-gap needs to be very small, which means the plastic thread used to create the gap should be thin. This results in a limitation that only very small insects (smaller than ants) can be viewed. You may be tempted to use a much thicker thread to create more head-room, but I should caution you that you may struggle with focusing.
However, if you are able to design something that allows larger insects like ants to be observed please let us know !!
Observing insects using this slide
However, if you are able to design something that allows larger insects like ants to be observed please let us know !!
Observing insects using this slide
View in Media Gallery
Ok, this is the fun part. This is what I typically do:
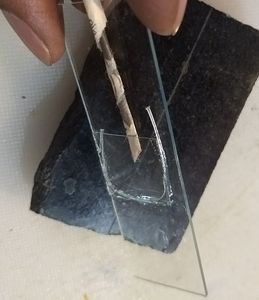
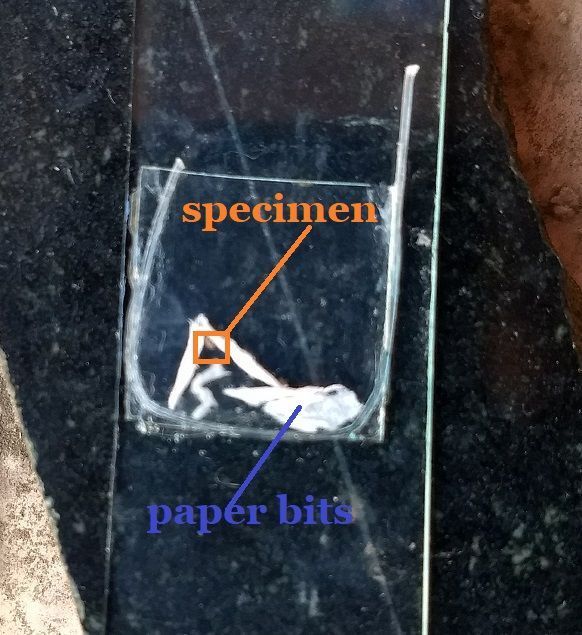
Use a pointed object like needle or toothpick to transfer the insect or larvae on the glass slide first (near the open end). Now use a long strip of paper and gently push the specimen inside the cavity we created. Be gentle and try not to harm the insect in process. Push the specimen all the way inside towards the sealed walls. Since we have left one side of our glass-box open, there is a tendency of the coverslip bending near the open slide and ‘squishing’ the specimen, when we try to focus using our focusing mechanism of Foldscope. I have also tried to insert very tiny bits of papers inside the slide surrounding the specimen. It serves two purposes: It puts limitations on movement of the insect. Also provides required support to the insect to re-orient itself and possibly expose different organs as it tries to moves through the bits of papers. It allows for scattering of light. This is very important for us to be able to see all sides of the insects Use a strong LED light source for illuminating the specimen. Doing more Though the primary intention of this technique was to observe insects, there are many cool things you can try to observe using this technique, like :
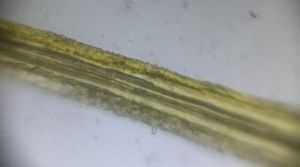
You can culture things like fungi and moss inside the slide and monitor their growth. You can try to observe various stages of an insect’s life-cycle (eggs –> larvae –> insect). Observe how insects feed. How they interact with each other. Germinating seeds can be observed. It would be fun to see cotyledons, roots and shoots !! Finally Hope you found my experiment intresting. If you decide to make this type of slide, please do share your findings with me and the Foldscope community.
Use a pointed object like needle or toothpick to transfer the insect or larvae on the glass slide first (near the open end). Now use a long strip of paper and gently push the specimen inside the cavity we created. Be gentle and try not to harm the insect in process. Push the specimen all the way inside towards the sealed walls. Since we have left one side of our glass-box open, there is a tendency of the coverslip bending near the open slide and ‘squishing’ the specimen, when we try to focus using our focusing mechanism of Foldscope. I have also tried to insert very tiny bits of papers inside the slide surrounding the specimen. It serves two purposes: It puts limitations on movement of the insect. Also provides required support to the insect to re-orient itself and possibly expose different organs as it tries to moves through the bits of papers. It allows for scattering of light. This is very important for us to be able to see all sides of the insects Use a strong LED light source for illuminating the specimen. Doing more Though the primary intention of this technique was to observe insects, there are many cool things you can try to observe using this technique, like :
You can culture things like fungi and moss inside the slide and monitor their growth. You can try to observe various stages of an insect’s life-cycle (eggs –> larvae –> insect). Observe how insects feed. How they interact with each other. Germinating seeds can be observed. It would be fun to see cotyledons, roots and shoots !! Finally Hope you found my experiment intresting. If you decide to make this type of slide, please do share your findings with me and the Foldscope community.
Sign in to commentNobody has commented yet... Share your thoughts with the author and start the discussion!

 0 Applause
 0 Comments