Histology lab – A place where foldscope is a must.
 Nov 11, 2016 • 11:21 AM UTC
 Unknown Location
 140x Magnification
 Microorganisms
Gurusiddaiah C M
Learn about the author...
3posts
11comments
1locations

View in Media Gallery
Day 2
Today we took our foldscope to the histology lab to explore and unravel it’s use there.
Before we start we’d like to inform you that our research on foldscope will mostly be restricted to medical science.
Head of the department of Anatomy, Dr.S K Deshpande was too patient to hear to everything that we told him about foldscope. He was too curious to know how it works. He also gave us some prepared slides for experimenting. Thank you sir!
Let’s begin;
So here, we have compared the images taken through a foldscope to the standard image given in a textbook of histology.
View in Media Gallery
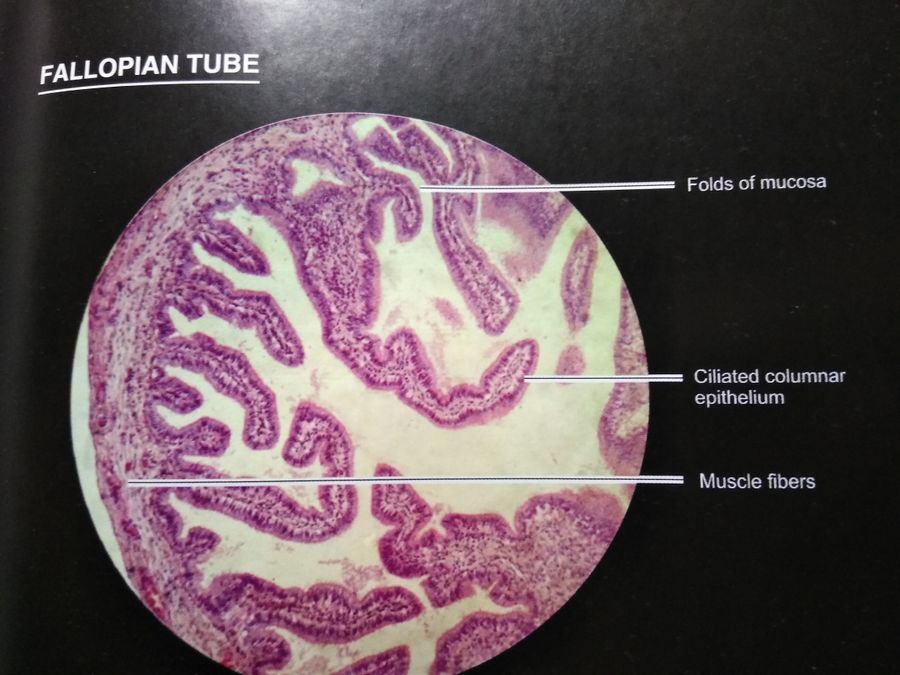
Fallopian tube(Textbook)
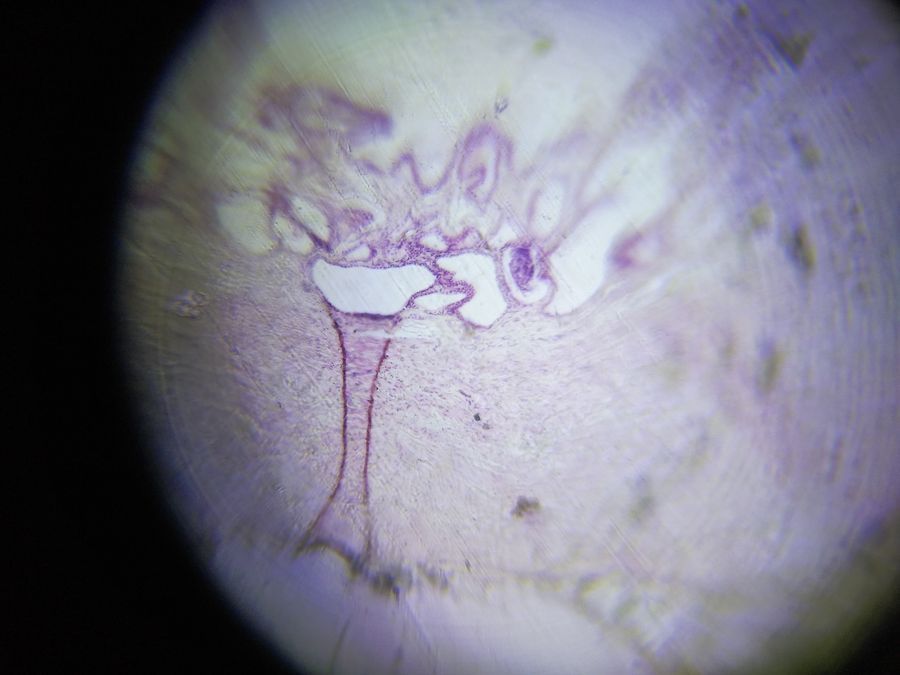
View in Media Gallery
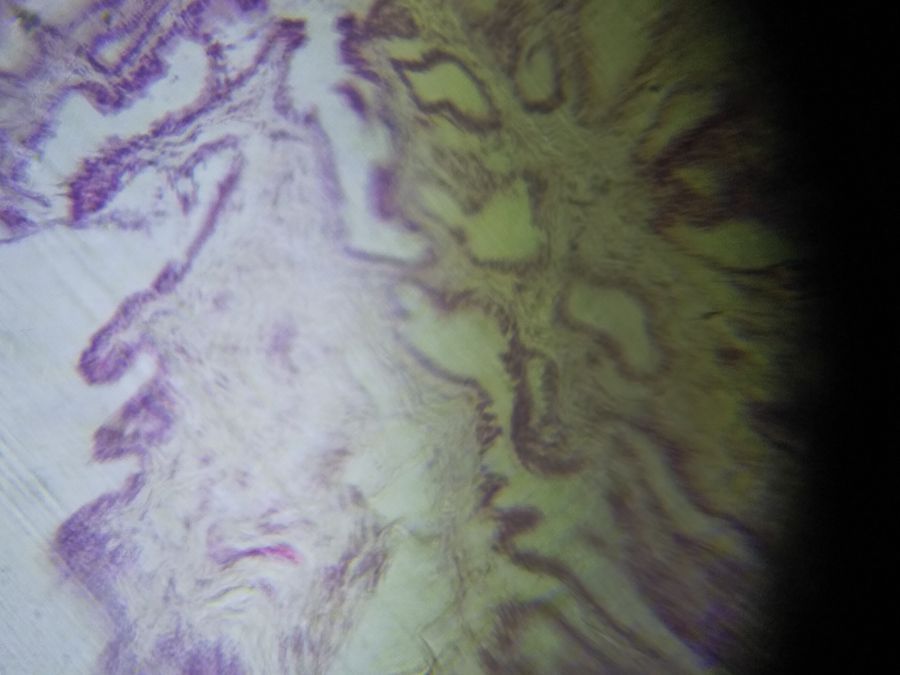
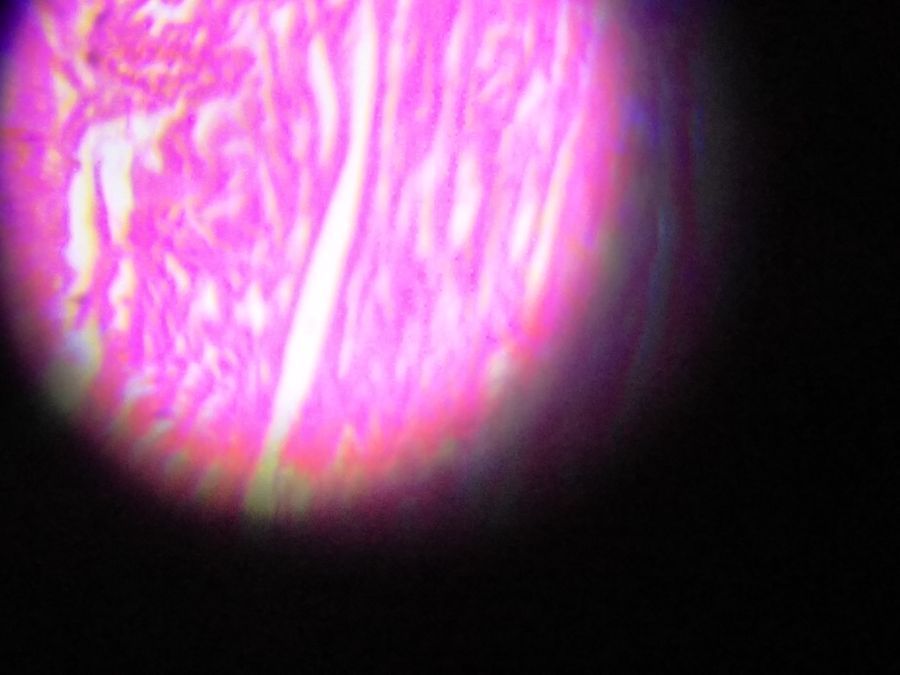
Fallopian tube(Foldscope)

View in Media Gallery
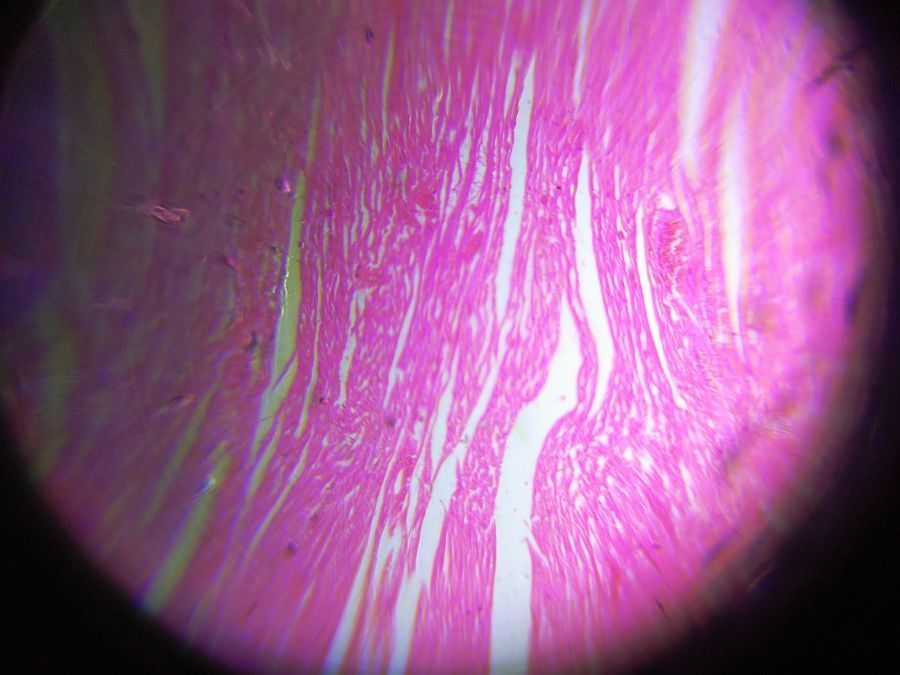
Fallopian tube-2(Foldscope)
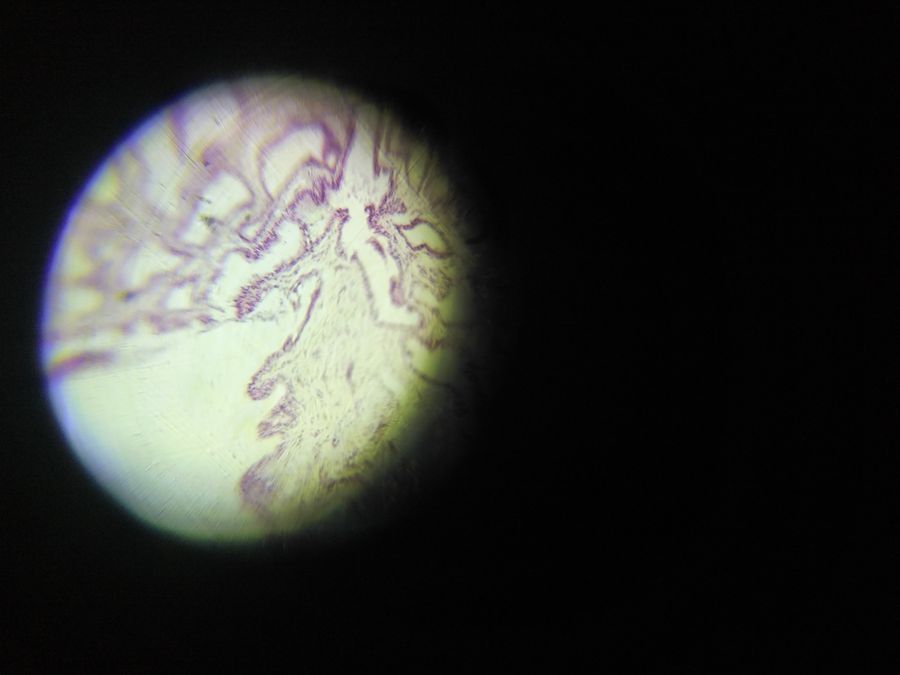
View in Media Gallery
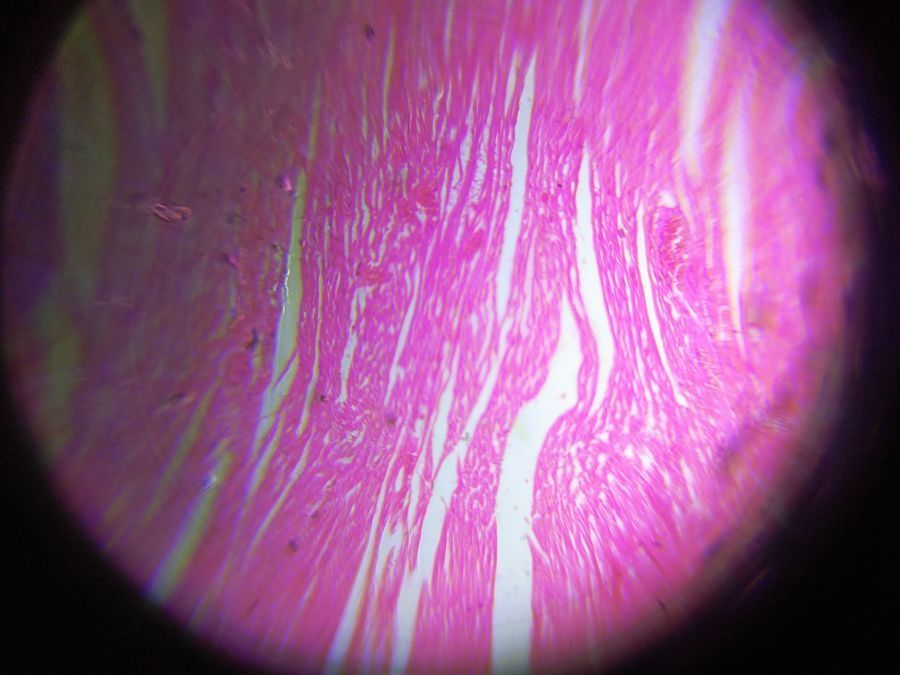
Fallopian tube-3 (Foldscope)
View in Media Gallery
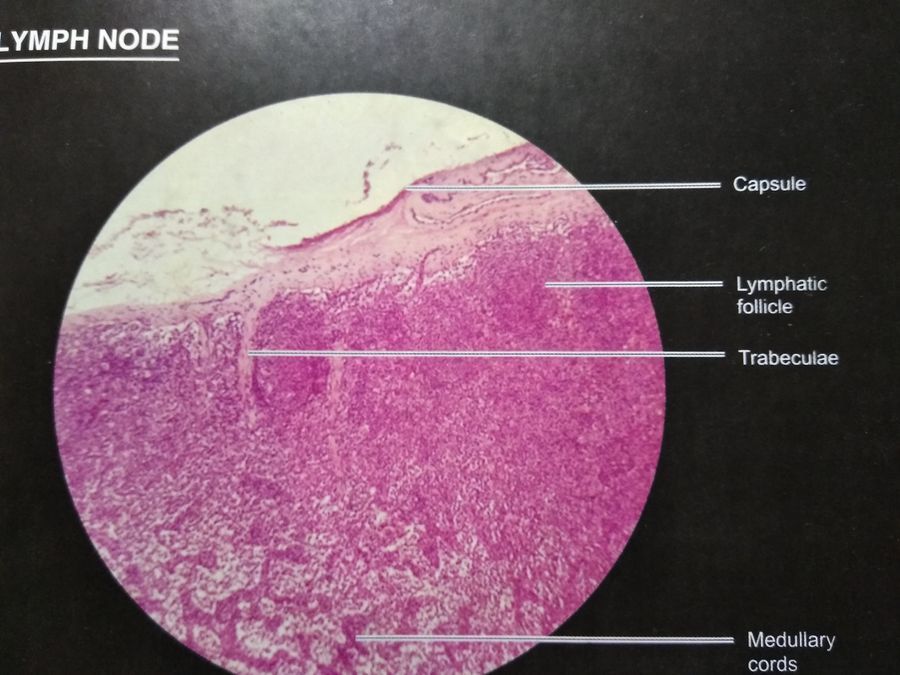
Lymph node (Textbook)
View in Media Gallery
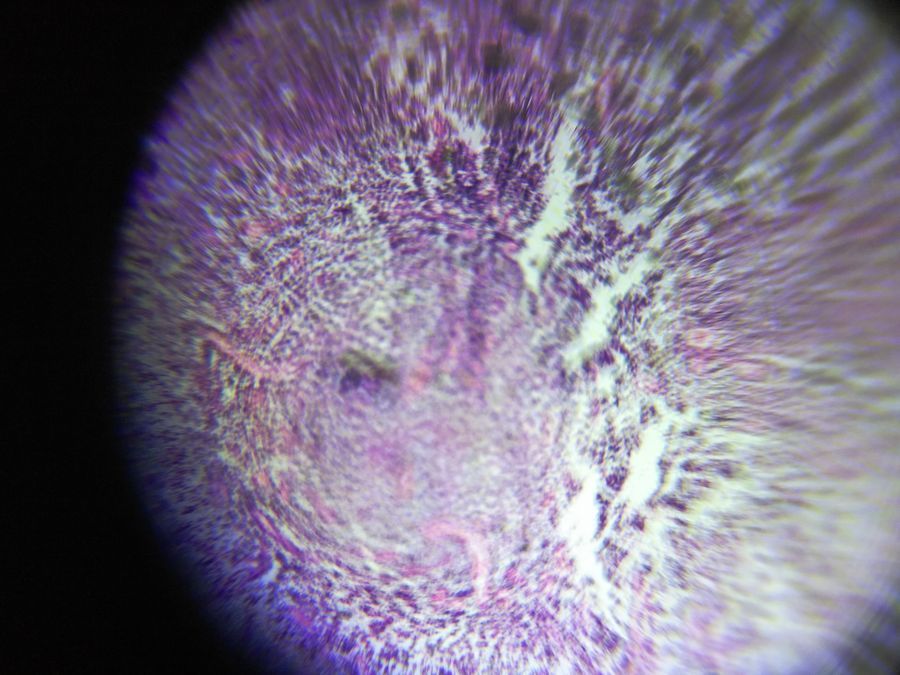
Lymph node-1 (Foldscope)
View in Media Gallery
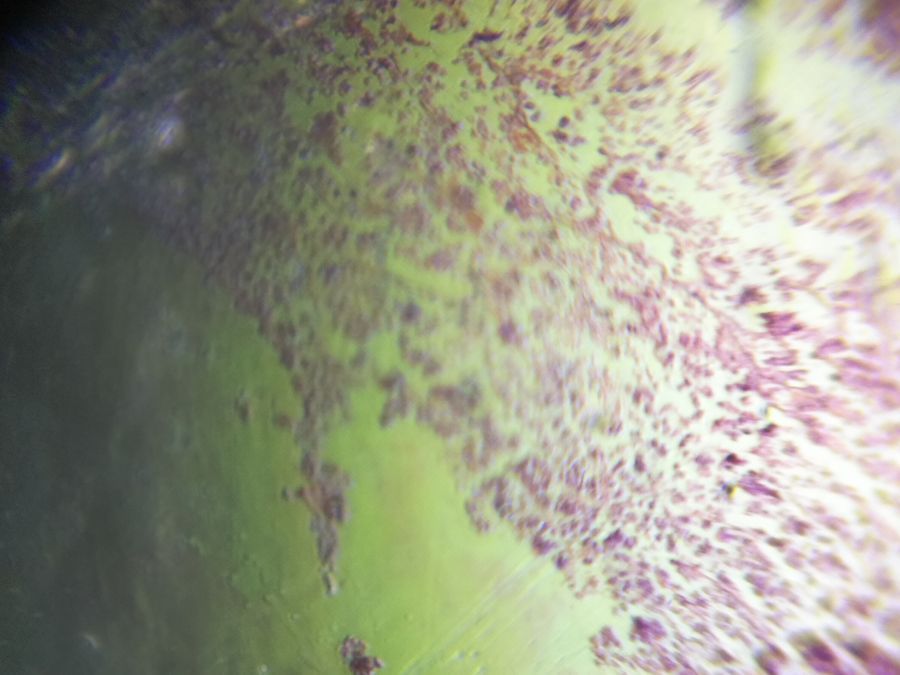
Lymph node-2 (Foldscope)
View in Media Gallery
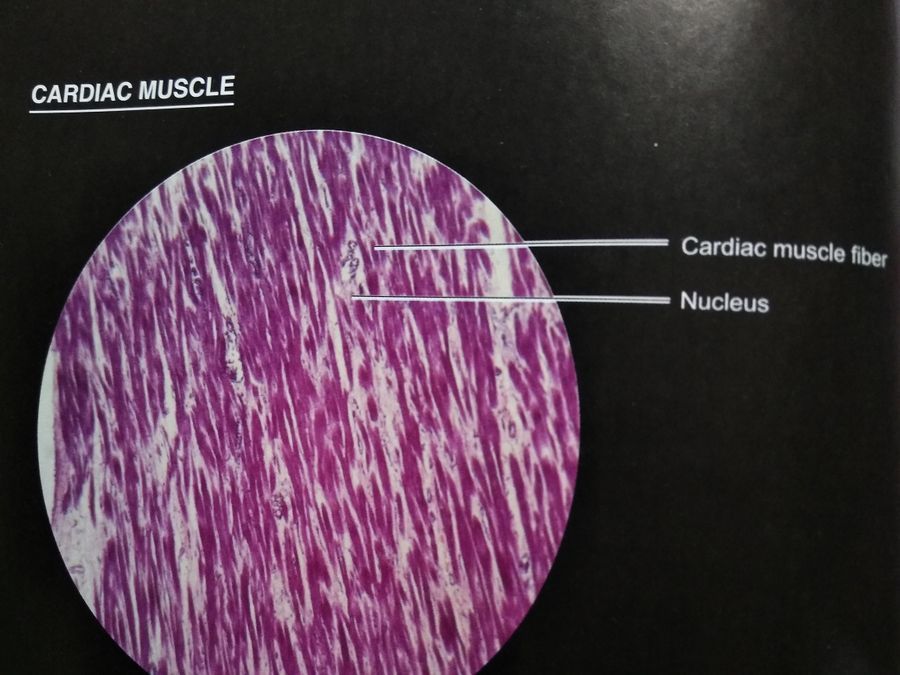
Longitudinal section of Cardiac muscle (Textbook)
View in Media Gallery
Cardiac muscle-1 (Foldscope)

View in Media Gallery
Cardiac muscle-2 (Foldscope)
View in Media Gallery
Cardiac muscle-3 (Foldscope)
View in Media Gallery
Cardiac muscle-4 (Foldscope)
View in Media Gallery
Cardiac muscle-5 (Foldscope) (@Manu: Just following what you told-‘click more images’😋)
View in Media Gallery
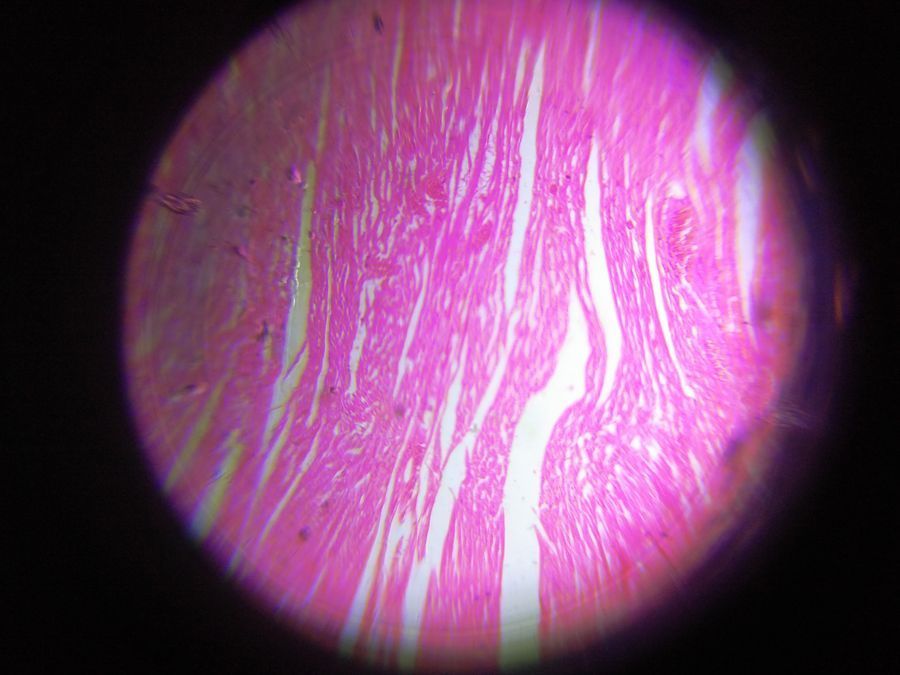
Membrane of fallopian tube ( Foldscope)
View in Media Gallery
Tell us about our observations ! Will come up with more interesting slides tomorrow.
The lesson we got to learn today is that we need to magnify more to see and study the minute structures. In order to magnify, we need a lens which has higher power. To try solving this problem we are going to test foldscope with the lenses we ordered online.(link is given in the previous post)
“Happy Foldscope-ing”
Sign in to commentNobody has commented yet... Share your thoughts with the author and start the discussion!

 0 Applause
 0 Comments