Hacking A Lower Powered Foldscope
 Apr 14, 2017 • 5:47 PM UTC
 Unknown Location
 140x Magnification
 Non-Living
Robert Little
Learn about the author...
1posts
0comments
1locations
View in Media Gallery
Recently, I decided to undertake a search for micrometeorites (you can read more about them here ). Since a good portion of micrometeorites are ferrous, you can use a magnet to search for them.
However, not all samples of ferrous particles are potential micrometeorites, so you will have to examine them. I already have a handheld 18x microscope, but needed something with a little more power, at least 30x. I’ve known about the Foldscope for some time, and decided to see if the design could be hacked. That’s where I began.
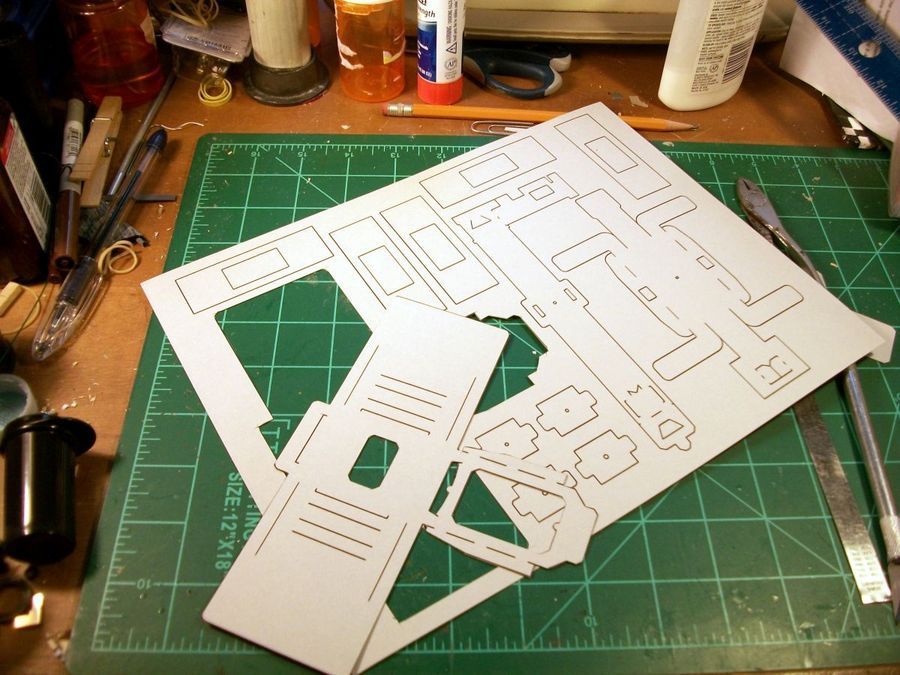
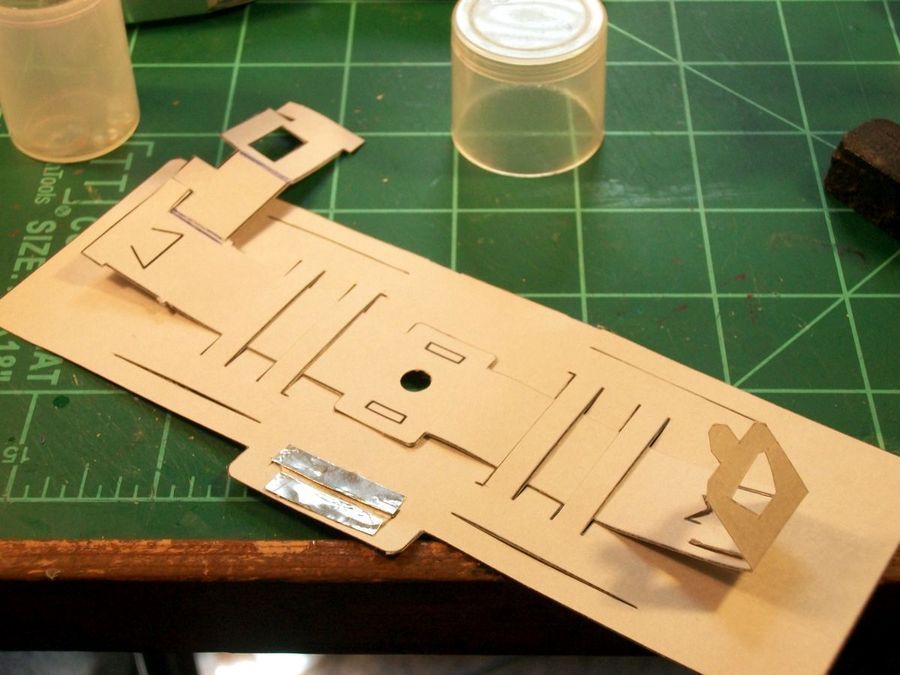
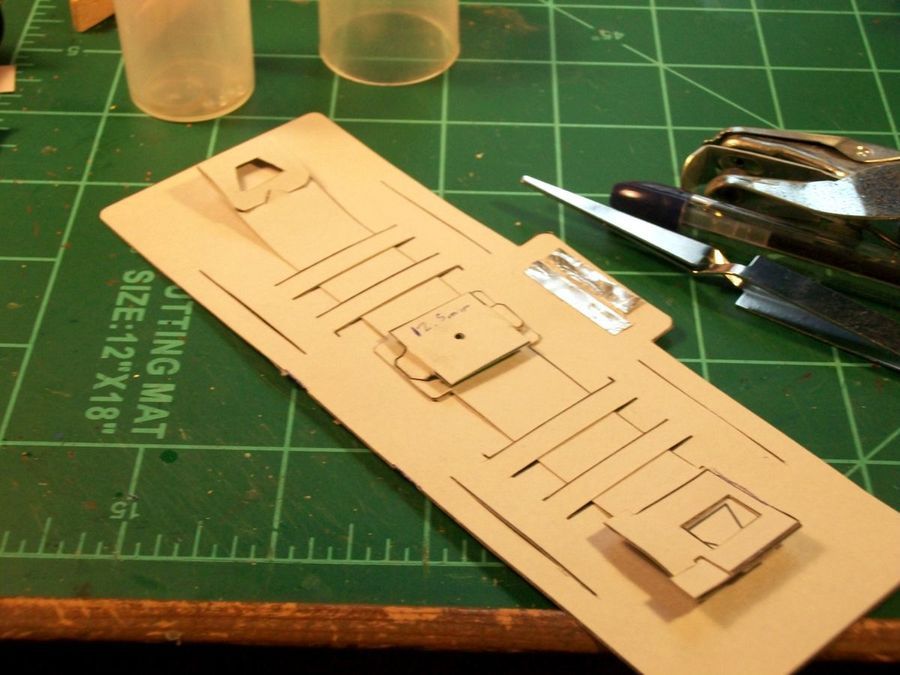
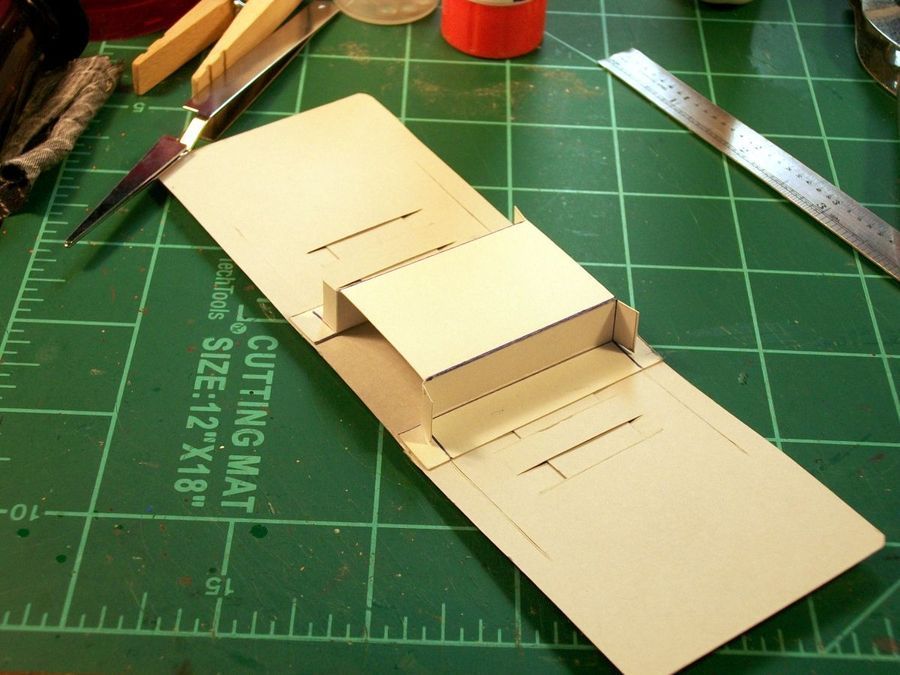
I downloaded the template for an earlier iteration of the Foldscope, printed them onto light gray cardstock, and began cutting the parts out. My plan was to test assemble most of it and then look to see where the modifications would be needed. This is the main body of the instrument.
However, not all samples of ferrous particles are potential micrometeorites, so you will have to examine them. I already have a handheld 18x microscope, but needed something with a little more power, at least 30x. I’ve known about the Foldscope for some time, and decided to see if the design could be hacked. That’s where I began.
I downloaded the template for an earlier iteration of the Foldscope, printed them onto light gray cardstock, and began cutting the parts out. My plan was to test assemble most of it and then look to see where the modifications would be needed. This is the main body of the instrument.
View in Media Gallery
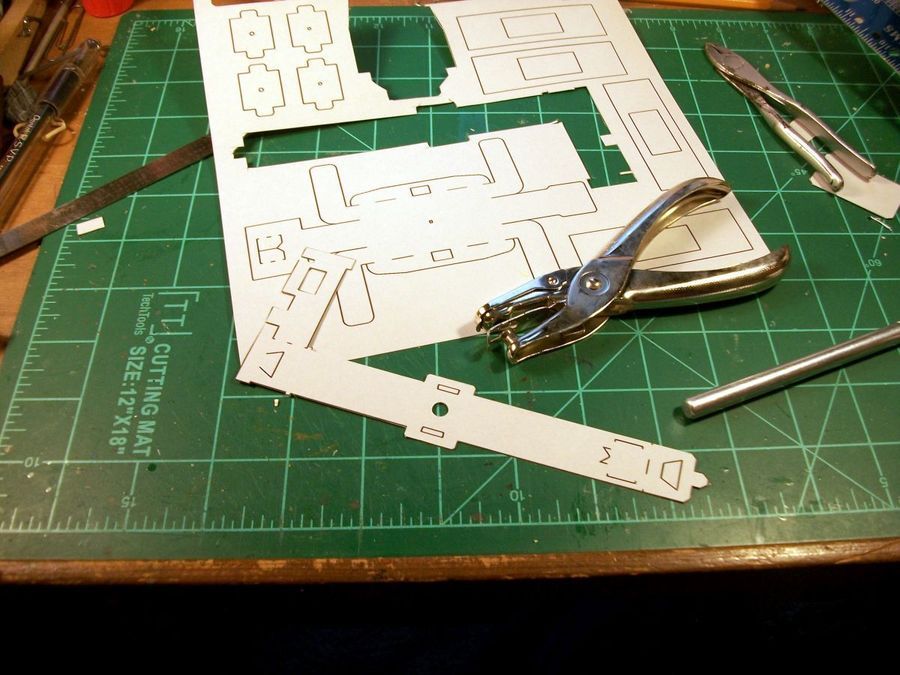
This is the lens holder. Note that I punched the lens aperture to 6.4mm (1/4″).
View in Media Gallery
The piece to the right of the lens mount is the lower piece for the instrument, the lighting stage. In the official design, there is a tiny LED light source mounted to this. It is normally attached to the lens mount, but below the main body. In practice, it would move with the lens. Brilliant idea.
View in Media Gallery
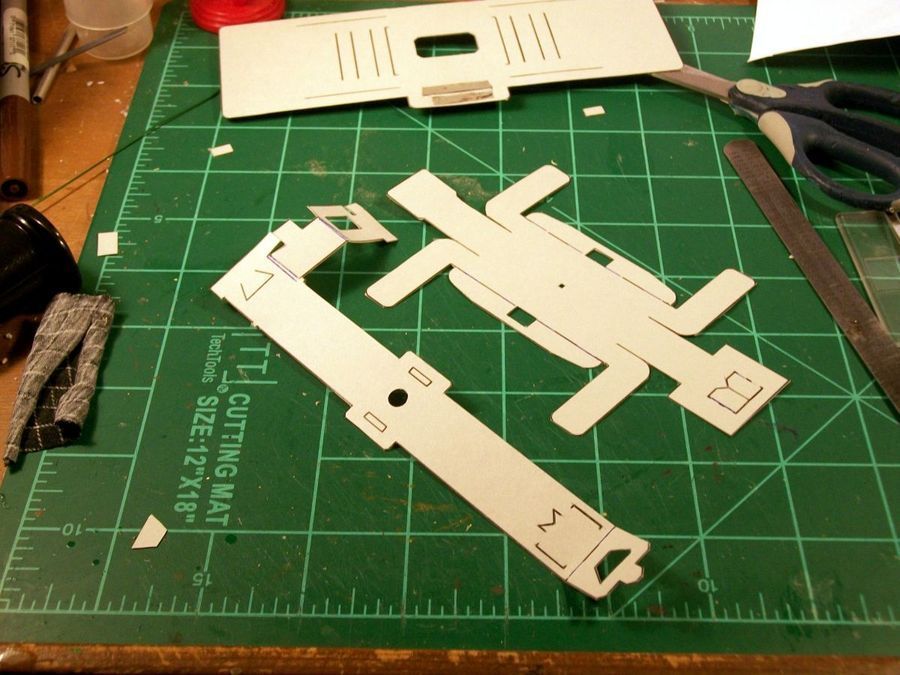
The basic Foldscope prototype assembled. You’ll note the thin pieces of aluminum tape on the right. These are on either side of the slide slot, an area I inadvertently weakened.
View in Media Gallery
Now, for my modifications.
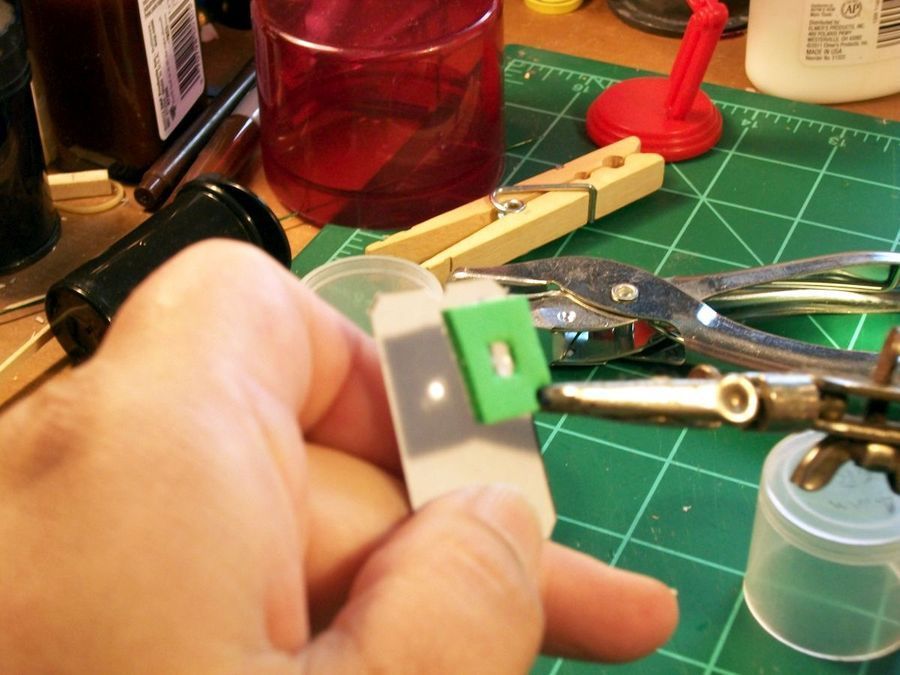
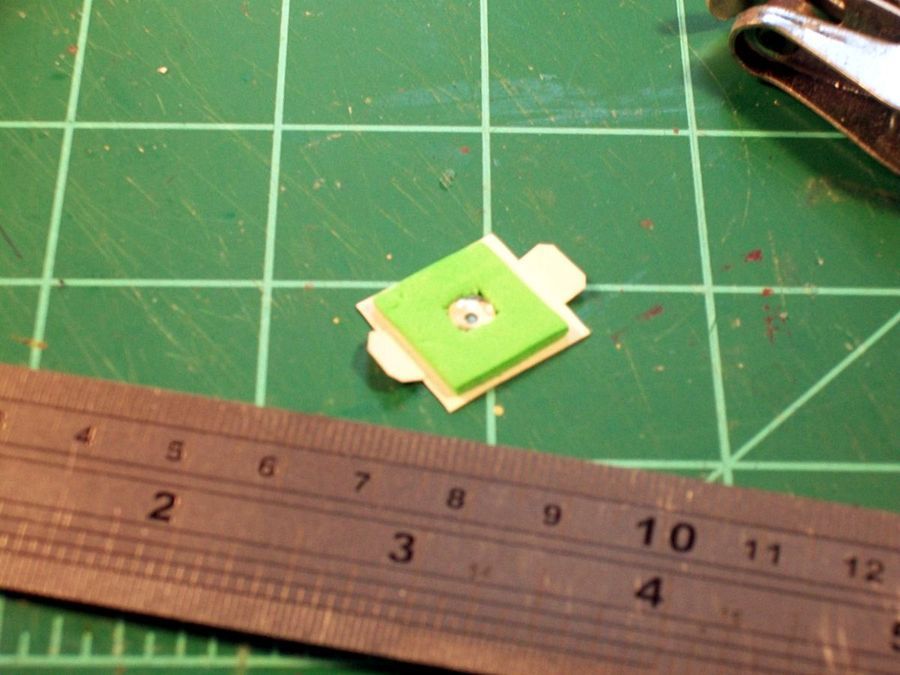
The lens is 6mm in diameter and has a focal length of 12.5mm. It came from a small children’s microscope that was not working. It is mounted in a piece of 16mm x 1mm self adhesive foam (my apologies for the blurry image).
The lens is 6mm in diameter and has a focal length of 12.5mm. It came from a small children’s microscope that was not working. It is mounted in a piece of 16mm x 1mm self adhesive foam (my apologies for the blurry image).
View in Media Gallery
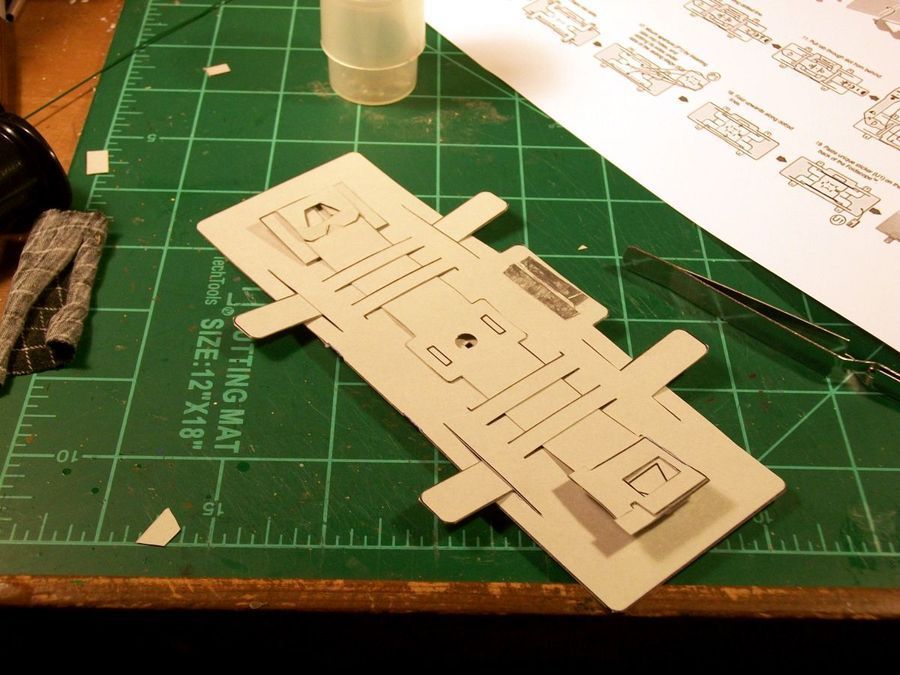
To prepare the lens mount, the lower piece/lighting stage was removed.
View in Media Gallery
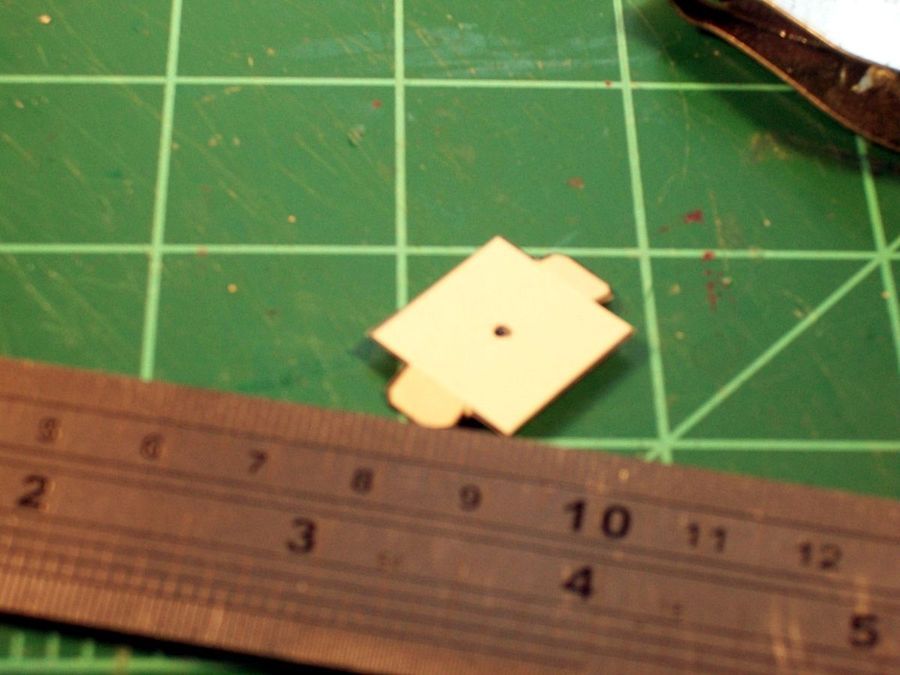
A new lens cover was made from the patterns and an aperture of 1.5mm was punched into it. While this may seem to make looking into the instrument difficult, it actually works fine, is pretty consistent with the original design, and has the advantage of improving the lens’ depth of field.
View in Media Gallery
Here is the top of the lens cover showing the aperture.
View in Media Gallery
The lens in place. I wrote the lens’ focal length on the cover for reference.
View in Media Gallery
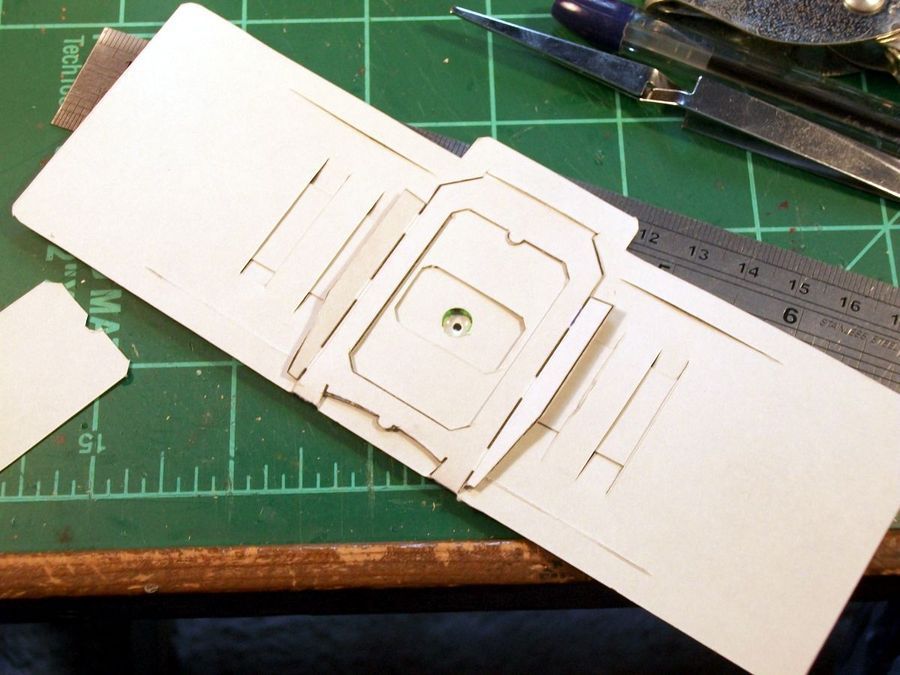
This is the underside of the Foldscope. You can see the lens in the center. The piece that is attached, the slide mount, would have to be removed. This would weaken the main body a bit, but I would solve that.
View in Media Gallery
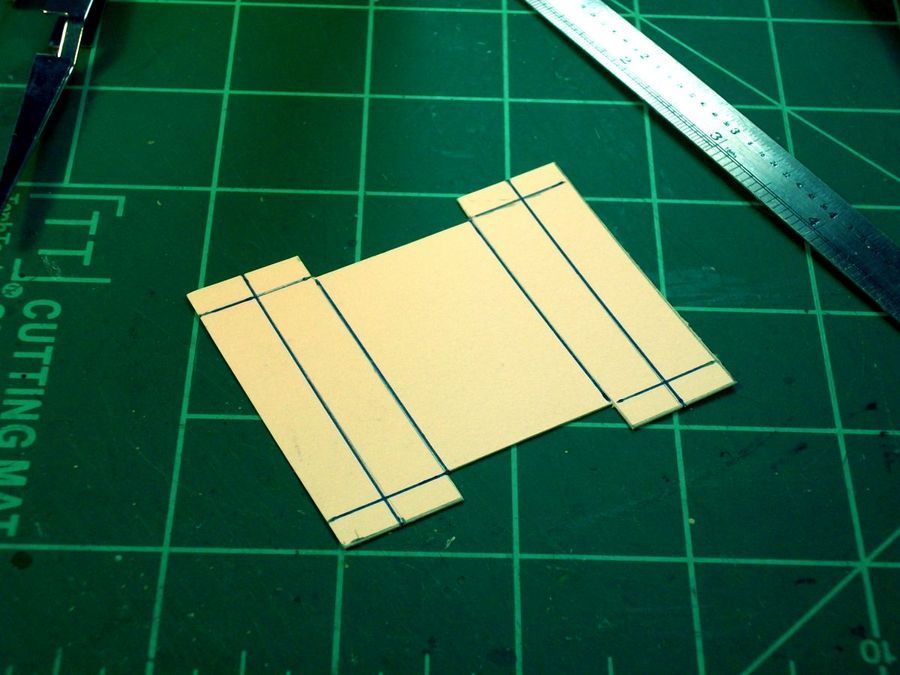
The new stage, cut out of very pale gray cardstock.
View in Media Gallery
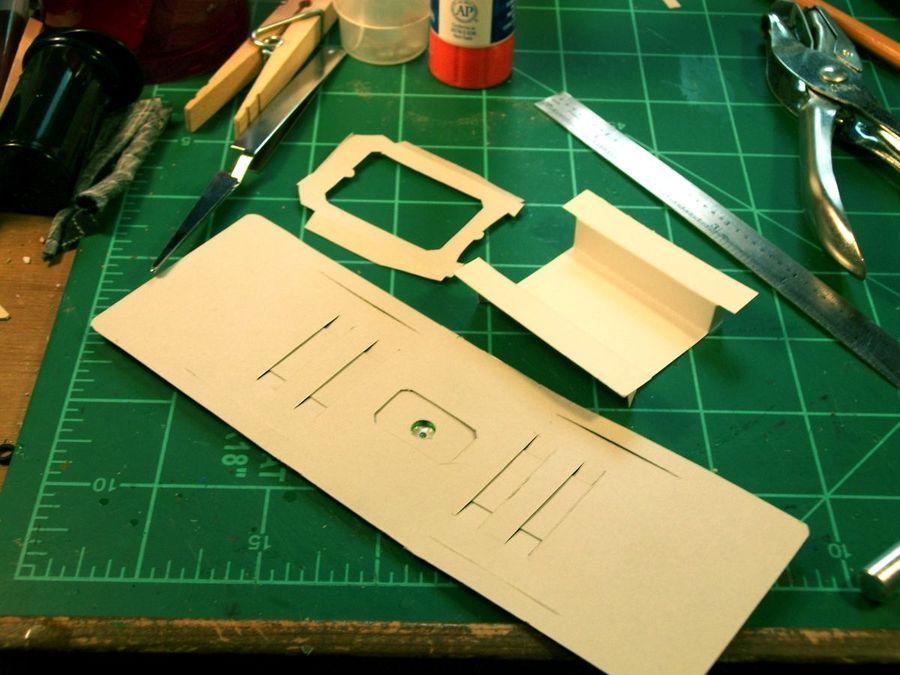
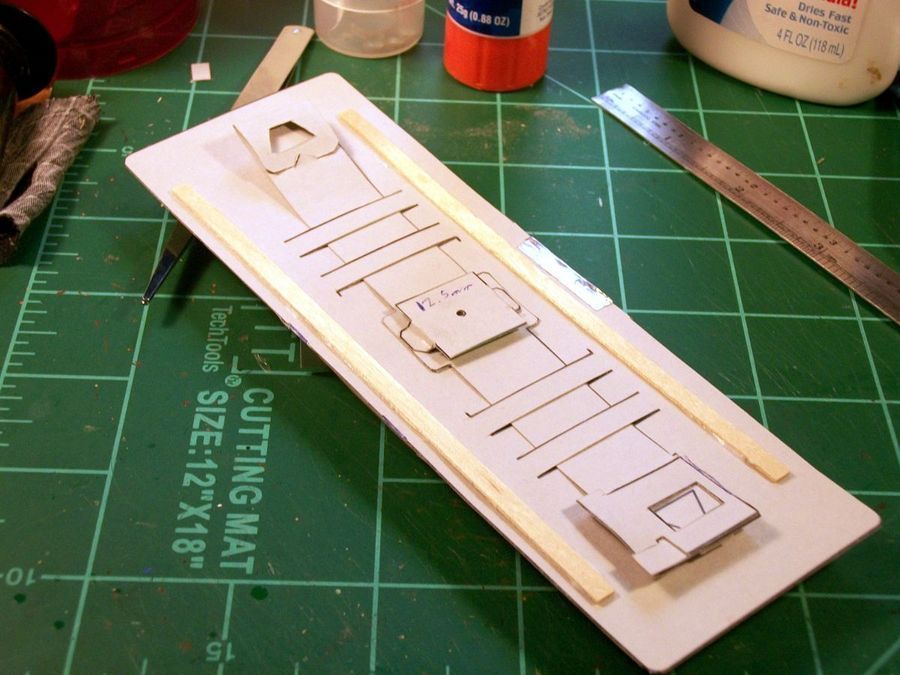
Here, the slide mount has been removed and the stage cut and folded, ready for attaching.
View in Media Gallery
The stage as attached. This helped to reinforce the Foldscope as well. The fins extending outward from the stage could at this point be folded back so the stage could collapse. However, I am considering gluing them down for the sake of rigidity.
View in Media Gallery
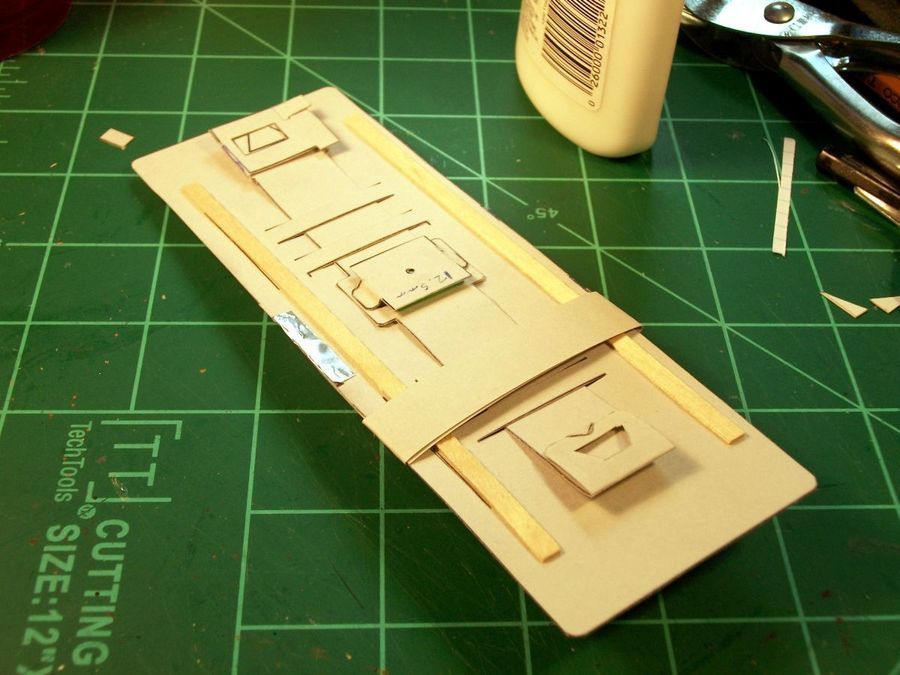
For additional reinforcement, two wooden coffee stirrers were glued on either side of the Foldscope.
View in Media Gallery
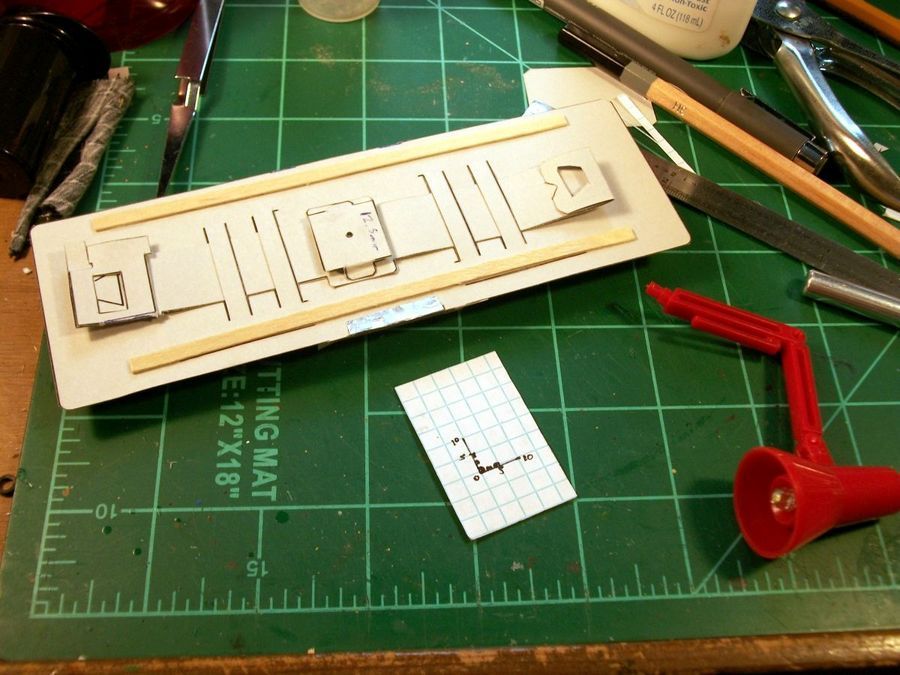
Since my design is going to be used for searching for micrometeorites, which are usually ferrous, a second stage was made. This is cut out from a refrigerator magnet and has a piece of 5mm square grid paper glued to the top of it.
You’ll notice the little red “lamp” to the right of the second stage. This is the light source I used for testing. Since this Foldscope is to be used for opaque samples, the light source has to be somewhat above the stage. Fortunately, as the material for the Foldscope is light in color, it was enough to shine the light at an angle up into the stage area and work from reflected light.
You’ll notice the little red “lamp” to the right of the second stage. This is the light source I used for testing. Since this Foldscope is to be used for opaque samples, the light source has to be somewhat above the stage. Fortunately, as the material for the Foldscope is light in color, it was enough to shine the light at an angle up into the stage area and work from reflected light.
View in Media Gallery
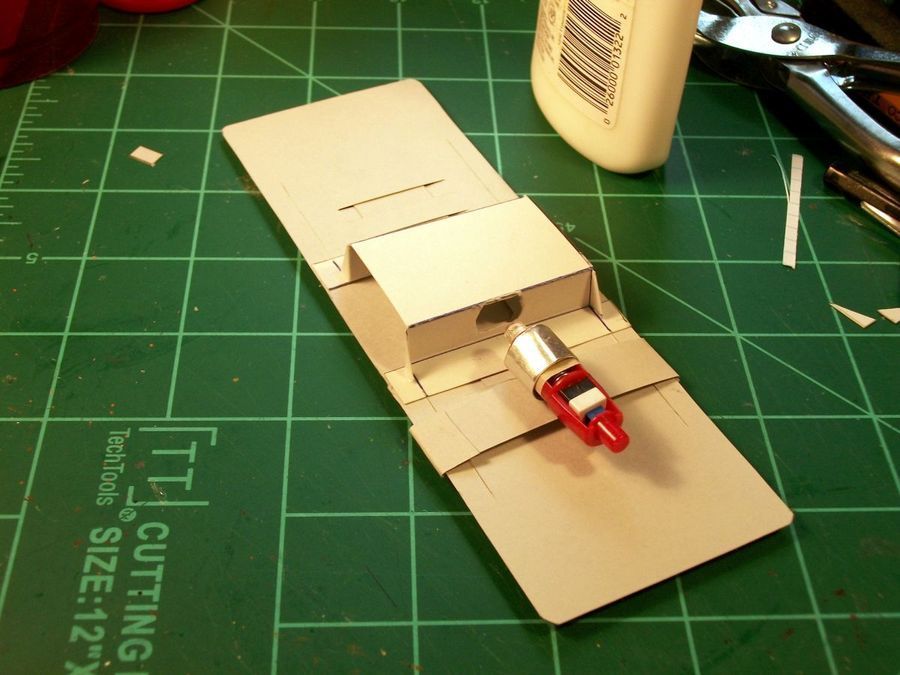
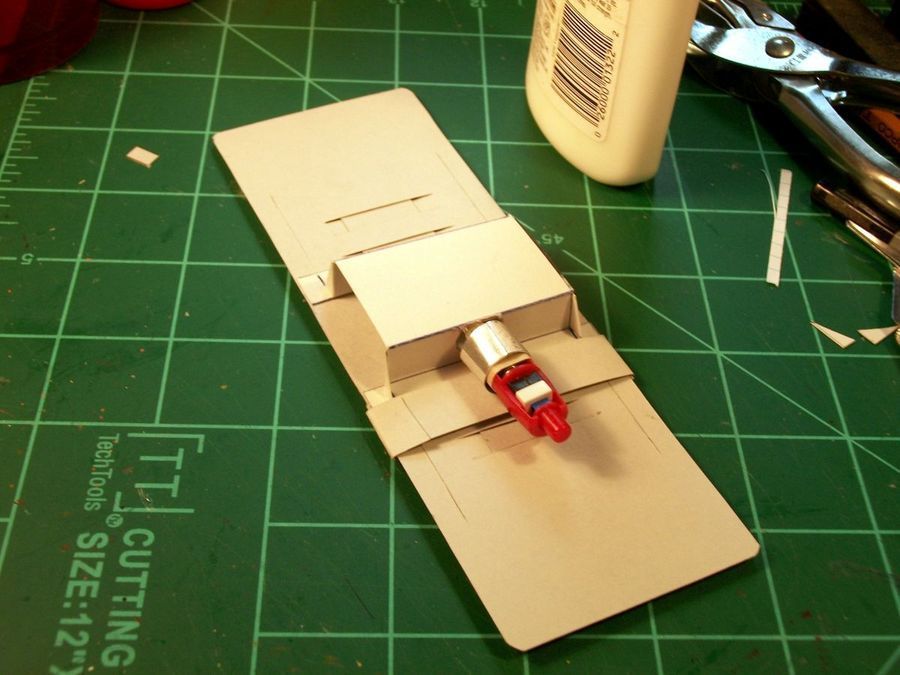
A rectangular opening was cut into the side of a stage wall. The little red LED lamp that was used for testing was dismantled for its core. The lamp was not particularly easy to hold whilst working with the instrument. Instead, a new mount was made, consisting of a cardstock band wrapped around the main body and a cardstock tube rolled for the lamp core to slide into. A piece of the aluminum tape was used to reinforce the tube, and a small strip of masking tape wrapped around the core’s batteries to help make the fit in the tube better, but still allowing for it to slide.
View in Media Gallery
Here, the lamp is in the far forward position.
View in Media Gallery
And here is the completed hacked Foldscope. Note how the lamp’s band goes around the unit. It is designed to be removable as needed. Current plans are for using aluminum tape to reinforce the lamp/band assembly, but it is usable right now.
View in Media Gallery
But how well does it work?
Very well. Depth of field is about 3mm, which for the samples here is more than sufficient. Personally, I cannot wait until I get to use this in the field. I suspect that this, combined with my other tools, will be fairly useful.
Very well. Depth of field is about 3mm, which for the samples here is more than sufficient. Personally, I cannot wait until I get to use this in the field. I suspect that this, combined with my other tools, will be fairly useful.
Sign in to commentNobody has commented yet... Share your thoughts with the author and start the discussion!
More Posts from Robert Little
No more posts from this author.