What does a 20cents razor, food coloring and plant stems have in common?
 May 26, 2015 • 1:10 AM UTC
 United States
 140x Magnification
 Microorganisms
Manu Prakash
I am a faculty at Stanford and run the Prakash Lab at Department of Bioengineering at Stanford University. Foldscope community is at the heart of our Frugal Science movement - and I can not tell you how proud I am of this community and grassroots movement. Find our work here: http://prakashlab.stanford.edu
266posts
1198comments
42locations

View in Media Gallery
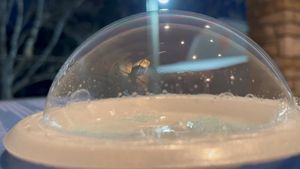
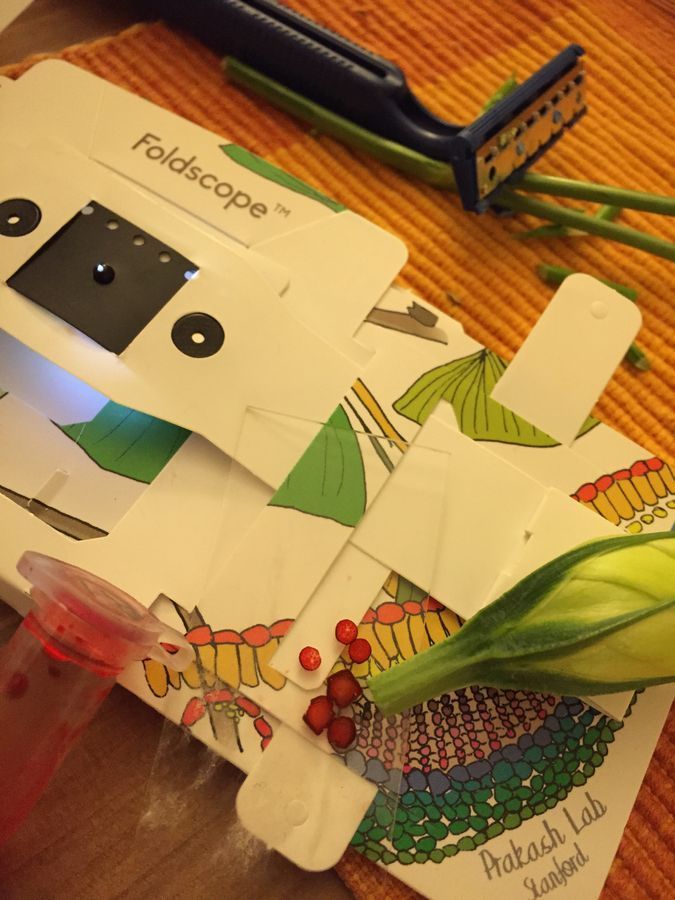
That sounds like a silly question – and it is. But sometime silly things are good. In this post; I will describe how to use a “disposable shaving razor” and some food coloring to dive into the inner world of plant plumbing. You heard it right – plumbing.
Plants (and trees) are the worlds most advance microfluidics system. Microfluidics is just a fancy word for plumbing at small scale – actually at a scale so small that all the plumbing tubes and pipes are made of individual cells – and thus range roughly the size of single cells (10 or 100 micron). But trees are known to make microfluidic channels that can pump fluids tens of meters high. And since we live in north California; I see redwood trees – which have been found to pump water more than 100 meters in height. That’s an incredible feat; specially when you think about doing this through pipes that are no thicker than a slice of your hair thickness.
But before we get too excited about figuring out how the hell does something like this work – we need to learn the basics of being able to watch how plants actually perform this task. Here we will learn how to precisely slice up plant stems to see inside this hidden world.
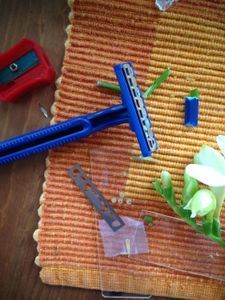
Here are some items you need:
1. A disposable razor – costs 20 cents.
http://mobile.walmart.com/ip/Schick-Twin-Blade-Plus-Disposable-Razors-12ct/20713694
Caution: razors are sharp; which means they can cut you!!! PLEASE PERFORM THESE STEPS IN SUPERVISION OF AN ADULT.
2. Any Food coloring to color the cell wall of the stem.
http://www.amazon.com/b?node=13825861
3. Any plants you want to look at.
Methods:
1. First, we will break open the disposable razor to get the two blades out. Please handle the blades very very carefully; and dispose them properly after use!!! One razor should give you two blades to work with. Since We want to perform transmission light microscopy; we need to cut the sample thin enough such that light can pass through. With 10 min of practice; you can get quiet good. I think I was regularly slicing 100 micron slices. It’s quiet remarkable to think that mane commercial sectioning machines can cut tens of nanometer in Slice thickness. But our slices are good enough for what we want to do.
Plants (and trees) are the worlds most advance microfluidics system. Microfluidics is just a fancy word for plumbing at small scale – actually at a scale so small that all the plumbing tubes and pipes are made of individual cells – and thus range roughly the size of single cells (10 or 100 micron). But trees are known to make microfluidic channels that can pump fluids tens of meters high. And since we live in north California; I see redwood trees – which have been found to pump water more than 100 meters in height. That’s an incredible feat; specially when you think about doing this through pipes that are no thicker than a slice of your hair thickness.
But before we get too excited about figuring out how the hell does something like this work – we need to learn the basics of being able to watch how plants actually perform this task. Here we will learn how to precisely slice up plant stems to see inside this hidden world.
Here are some items you need:
1. A disposable razor – costs 20 cents.
http://mobile.walmart.com/ip/Schick-Twin-Blade-Plus-Disposable-Razors-12ct/20713694
Caution: razors are sharp; which means they can cut you!!! PLEASE PERFORM THESE STEPS IN SUPERVISION OF AN ADULT.
2. Any Food coloring to color the cell wall of the stem.
http://www.amazon.com/b?node=13825861
3. Any plants you want to look at.
Methods:
1. First, we will break open the disposable razor to get the two blades out. Please handle the blades very very carefully; and dispose them properly after use!!! One razor should give you two blades to work with. Since We want to perform transmission light microscopy; we need to cut the sample thin enough such that light can pass through. With 10 min of practice; you can get quiet good. I think I was regularly slicing 100 micron slices. It’s quiet remarkable to think that mane commercial sectioning machines can cut tens of nanometer in Slice thickness. But our slices are good enough for what we want to do.
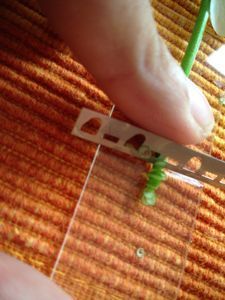
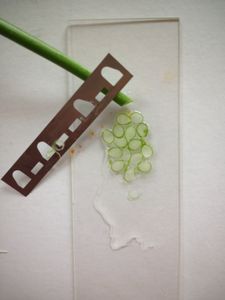
2. Gently put the slices on a glass slide. I added a little bit of sugar water to just keep them moist.
3. Put a drop of food coloring if you want to capture high contrast images of the cell wall. You don’t need to color the same; it’s just fun to see how contrast images.
4. Mount your samples (with or without coverslip in your Foldscope and collect data.
3. Put a drop of food coloring if you want to capture high contrast images of the cell wall. You don’t need to color the same; it’s just fun to see how contrast images.
4. Mount your samples (with or without coverslip in your Foldscope and collect data.
View in Media Gallery
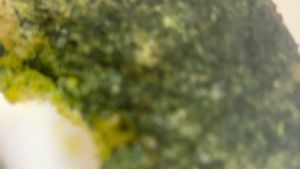
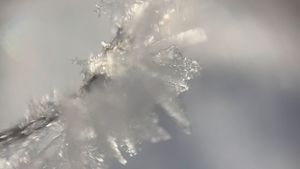
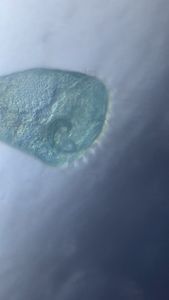
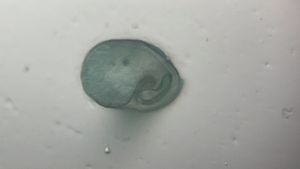
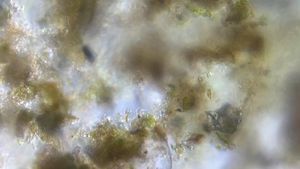
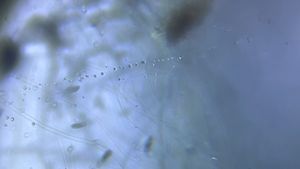
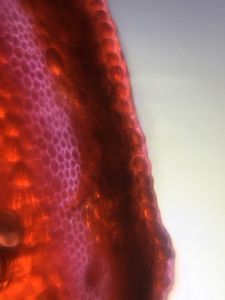
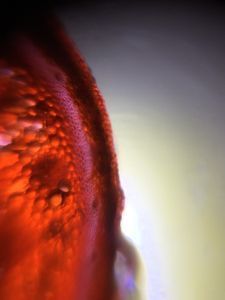
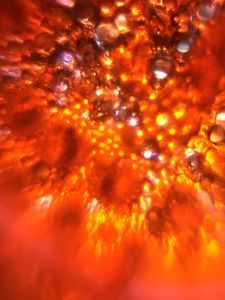
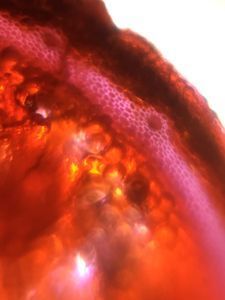
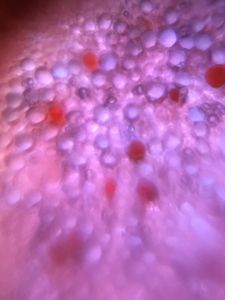
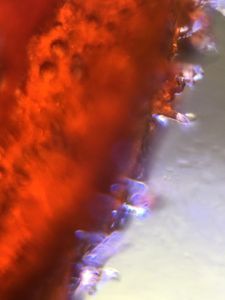
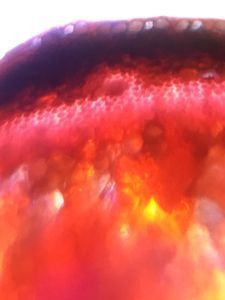
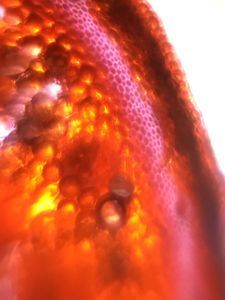
Here are the images and data I collected; for three different flowering plants. These are just representative images..
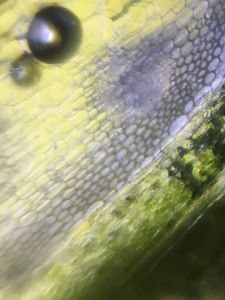
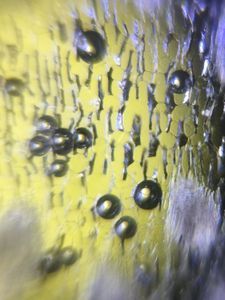
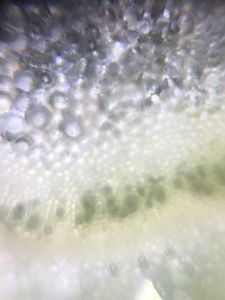
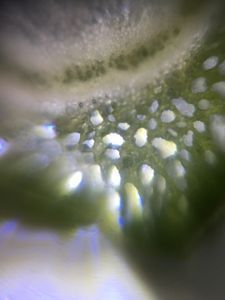
By leaving the slides in food colored droplets for a little bit of time (2 min); I was able to label the cell walls differential. Here are the results.

Next post, I will describe the various characteristic parts we can notice in the stem. Until that time;
Keep Exploring.
Cheers
Manu
Keep Exploring.
Cheers
Manu
Sign in to commentNobody has commented yet... Share your thoughts with the author and start the discussion!

 0 Applause
 0 Comments