Foldscope Use Tips & Tricks
 Mar 24, 2017 • 8:14 PM UTC
 Unknown Location
 140x Magnification
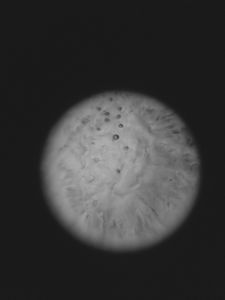
 Microorganisms
Michelle Cen
Learn about the author...
3posts
0comments
1locations
View in Media Gallery
Hello Explorers!
I had the privilege of meeting Manu Prakash today, who graciously helped me use my Foldscope. He shared with me some tips and tricks which I hope all of you will find useful as well! I will update this post as I learn more. Thank you to Manu for sharing this information with me!
SLIDE SET-UP:
You can insert a glass slide and cover slip (adhered to the slide with tape) into the Foldscope. Glass slides have no adhesive, so the images you get with them will be more crisp than those obtained with tape. Glass slides and cover slips can be washed and re-used. If preparing a slide of a solid sample, it’s possible to use one piece of tape instead of two in order to adhere the solid to the slide. The more adhesive that’s on the slide, the more “goopy” the image will appear. FOCUSING:
Try to start with low magnification and bring it into focus first, then go to high magnification To focus, very gently pull in and out the tabs at the sides of the Foldscope. Manu called it “like breathing.” Add more slides to the stage in order to bring the slide to a better field of view. You can bend the sliding Foldscope stage in order to keep it at the desired focus – remember, the Foldscope is durable and it’s okay to manipulate it! Also, you place the phone on an elevated surface to keep it at the proper focus. CONTROLLING THE LIGHTING:
If the light given off by the attachable LED is too strong, add folded pieces of cellophane tape to the other side of the LED. Also try taking off the condenser lens if it is on. The tape will diffuse the light, flatten the field of view, also reduce the amount of blue light.
If you couple your phone camera to the Foldscope, instead of attaching the magnet to the phone case as the official instructions dictate, it’s best to take off your phone case and place the magnet on the phone directly. This gives you a larger field of view. If there is a dark ring around your image while you’re using the low-powered lens (the high-powered has a smaller aperture and will give a dark ring), that means that the magnet on your phone is probably off-center! Make sure that it’s properly centered – you should have a clear field of view. When looking at an image on the iPhone, you can adjust the brightness by tapping on the image and clicking on the yellow box with the sun that pops up. Slide the sun up and down to make the image more or less bright. EXTRA TIPS:
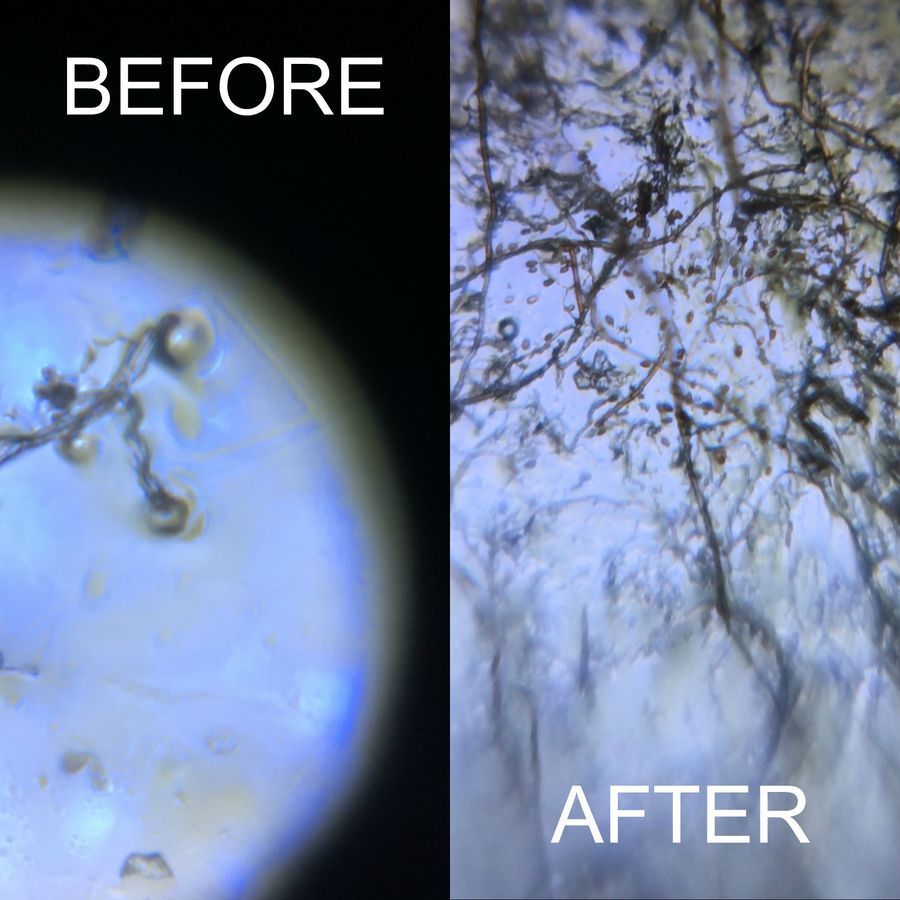
Take videos! Videos are great because they include sound, so you can talk about what you’re seeing, and also you don’t have to worry about keeping an image in focus while taking an image – just focus it in the video and take the still image you want out of it. You can take advantage of cool features like Time-Lapse when recording videos. The Lapse It app is good because you can fix the focus of the camera, which by default will autofocus. Note: The image above is of a Lingzhi mushroom. The “Before” is my original attempt to image the sample, while the “After” is Manu Prakash’s image of it with the very same phone and Foldscope! The difference? Proper lighting, focus, phone magnet placement, the use of the low-power instead of high-power lens (which is harder to focus), and a glass slide instead of a tape slide.
Take videos! Videos are great because they include sound, so you can talk about what you’re seeing, and also you don’t have to worry about keeping an image in focus while taking an image – just focus it in the video and take the still image you want out of it. You can take advantage of cool features like Time-Lapse when recording videos. The Lapse It app is good because you can fix the focus of the camera, which by default will autofocus. Note: The image above is of a Lingzhi mushroom. The “Before” is my original attempt to image the sample, while the “After” is Manu Prakash’s image of it with the very same phone and Foldscope! The difference? Proper lighting, focus, phone magnet placement, the use of the low-power instead of high-power lens (which is harder to focus), and a glass slide instead of a tape slide.
Sign in to commentNobody has commented yet... Share your thoughts with the author and start the discussion!

 0 Applause
 0 Comments